Publishing builds
Note: The following instructions are meant to be run on upstream main directly.
To release a new app version first we need to bump the app version. Note: if you need to only increment the build number, skip to Bump build number.
Bump version
- Run
yarn bump-version <major|minor|patch>. This command will update the version and increment the build number for both iOS and Android and then push the changes to git as a new commit.
Bump build number
Only use when you need to increment the build number only without changing the version number. If you have already run bump-version, then skip this step.
- Run
yarn bump-build.
iOS release
-
Ensure dependencies are installed:
yarn install. -
Ensure pods are installed
yarn pod-install. (Note - Do not usepod installcommand directly as that will activate the RN new framework — which we wish to be disabled for now) -
Select the correct scheme (Production or Beta).

-
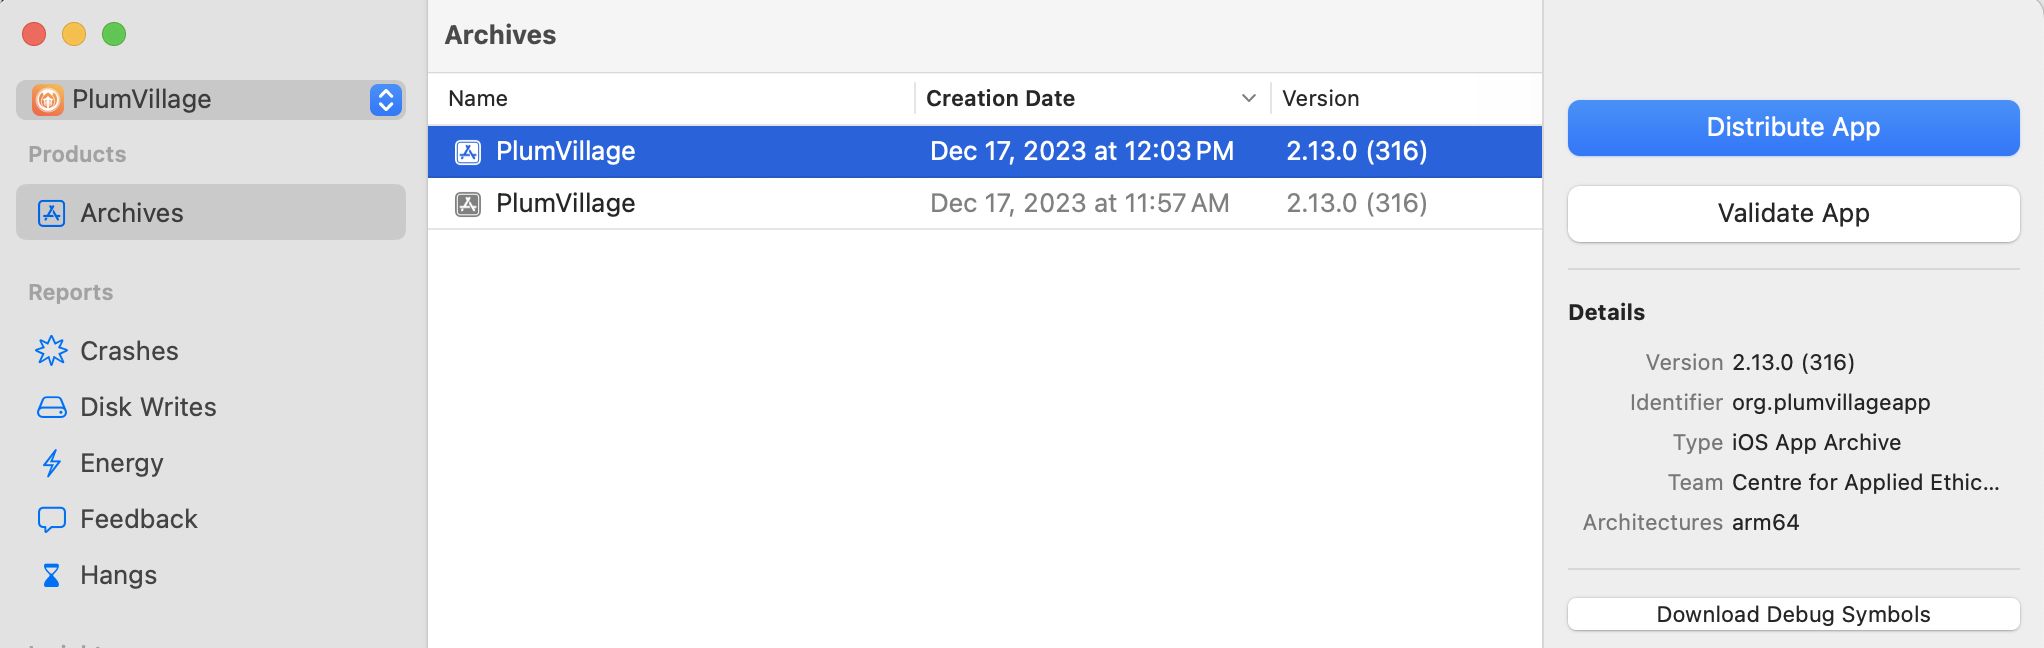
Product -> Archive and then wait for it to build. Once the build is complete, a new
Archiveswindow should open up -
Select the archive then press Distribute App
-
Select method of distribution (commonly Testflight-Internal only OR in case of store distribution - TestFlight & App Store) and then press Distribute
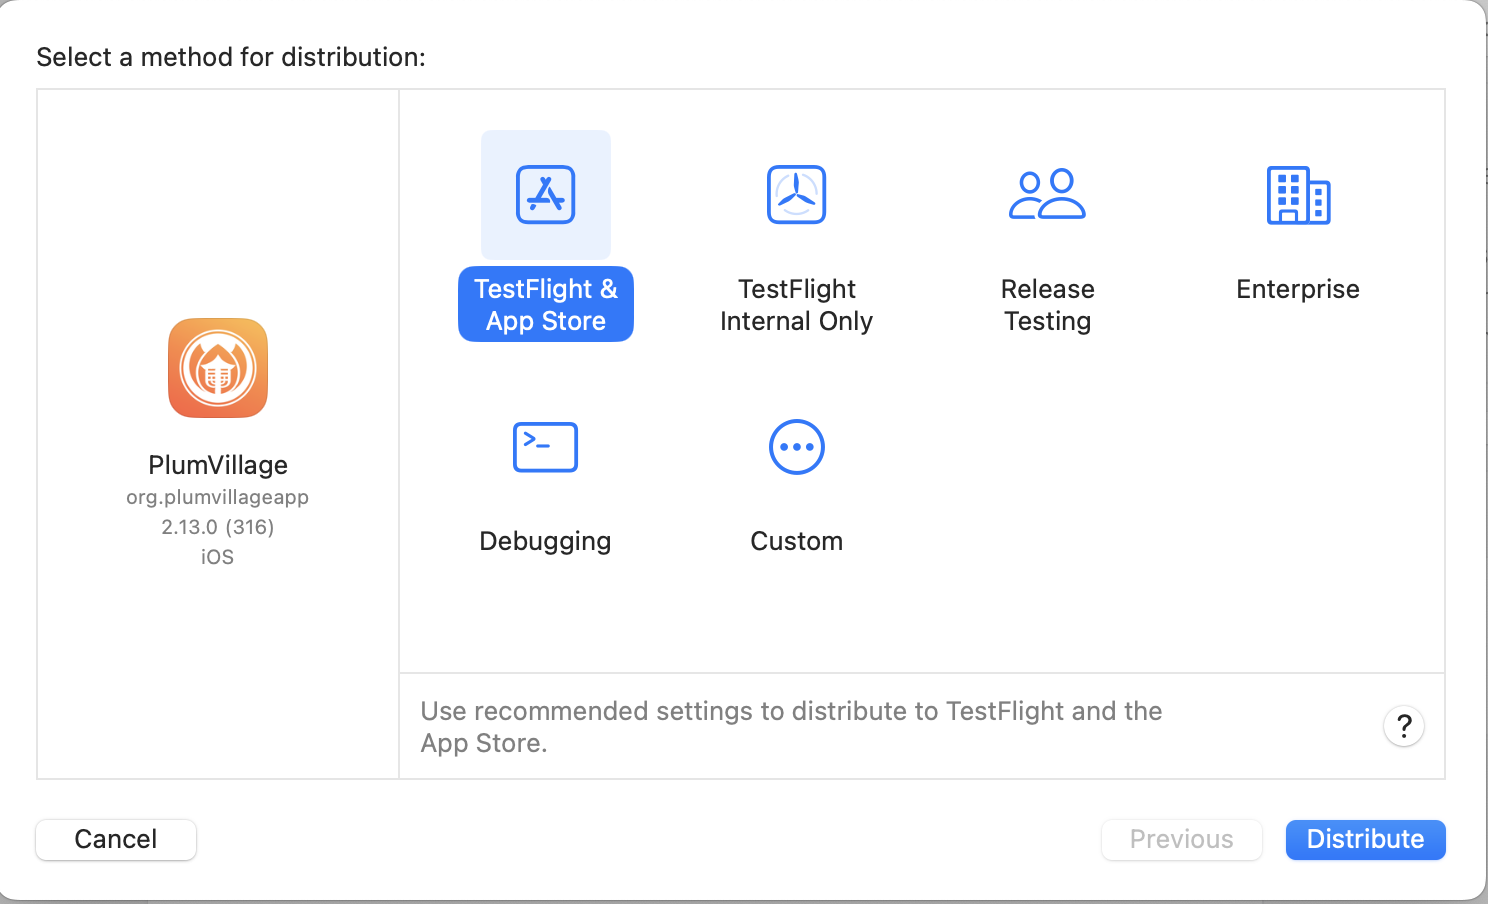
-
Uploading may take some time depending on your internet speed, but once it is complete, the build should start showing up (after possibly a delay of a few minutes) in App Store Connect.
-
Submit this new version for review from App Store Connect.
- Navigate to the build (under Activity). You may have to wait for it to process.
- When it is processed, you are able to test it if you are in the test group (via TestFlight app + redeem code)
- Then go to the App Store tab and add a new version, specify the version number matching the build and press Create.
- Enter release notes
- Select the Build
- Typically you will leave everything else unchanged
- Press Save
- If everything looks OK, press Submit for Review
- You may be asked "Does this app use the Advertising Identifier (IDFA)?". Answer: No
- The new version will now show as Waiting for Review
Android release
-
Ensure dependencies are installed:
yarn install -
Ensure
my-release-key.keystoreand the associatedkeystore.propertiesare in place. -
Clean and generate release bundle:
yarn android-build-release- For convenience, this command will also open the build directory (in Finder by default) upon completion.(change to
yarn android-build-betato generate a beta bundle - however, we haven't used the beta channel recently) -
Uploading and releasing a new version is very straightforward from the Play Store Console.
- Upload the Bundle from
android/app/build/outputs/bundle/release/app-release.aab - Enter release notes
- Press Save
- Press Review
- If everything looks OK, press Start Rollout to Production
- If there were significant changes, you'll certainly want to test the release before rolling out to production. In this case, you can upload it as an Internal testing release. Once you are satisfied it is ready for production, select Promote release -> Production from the page for that build.
- Upload the Bundle from
Updating releases on GitHub
For our records, add a release on GitHub. You can include release notes (specifying any differences for iOS / Android). Add the dates of release for iOS and Android once they become publicly available.